How to Use Disk Utility on Mac
Mac computers are extraordinary machines, capable of supporting very heavy work and are constructed with an attention to detail uncommon. But even if machines are high-level, it can happen that the operating system for which they are provided at times has a problem, and it is normal to be so.
Fortunately, the designers at Apple have thought about this and have provided a computer system program designed precisely to solve the small problems.
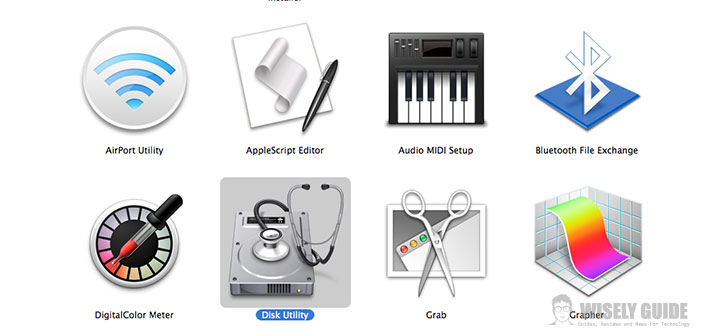
We are talking about Disk Utility. Learn how to use Disk Utility will help you keep your Mac healthy. Disk Utility is probably the utility included with every Mac.
This program is one of the most neglected by Apple users. Disk Utility performs many important functions that often are offered at very high prices.
- Repair non-boot disks. – From the Utilities folder, launch the Disk Utility application from the sidebar and select a disk or volume. In the section S.O.S., click the button. Repair Disk to start.
- Verify Disk Permissions. – Select an item in the sidebar and in the S.O.S., click the Verify Disk Permissions to check the permissions of the file system on the disk or volume you selected.
- Repair disk permissions. – If errors are detected in the permits during checkout, select the volume in the sidebar and click the Repair Disk Permissions button to start the repair. Erase disks and volumes. Select the disk or volume to be deleted with one click from the sidebar and in the main panel, go to the Erase. After choosing the format and the name, click initializes.
- Partition disks and volumes. – Select a disk and partition from the Partition section, specify the Volume Scheme and the information volume. Click Apply to partition the disk, or Revert to Original button to cancel. A partitioning erases data on your computer. Create disc images. From the File menu in Disk Utility, select New. Choose the type of disk image or the location or source. Enter the relevant information and click Create ..
- Burn disc images. – In the Disk Utility toolbar, click Burn. In the dialog box, select the disk image and click on burn. Now you just need to insert a blank disc and press the button with the word burn.
- Erase rewritable CD or DVD. – Select the disk to be deleted in the sidebar and in the main panel, click the Initialize section. Quickly choose between or completely, then click initializes.
- As you can see, it is not so difficult to perform these operations, with a little practice, you will see that use these programs to fix your computer can be really useful and easy. So do not despair and get busy. I do not wish you good work. See you soon.