How to replace the hard disk of a PC with HDClone
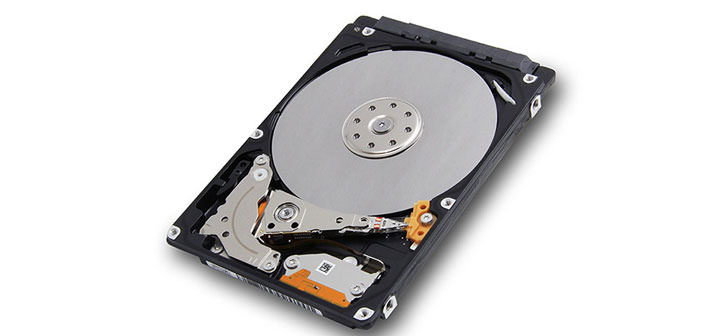
The HDD hard disk drive, usually abbreviated as a hard disk, also called a hard disk or hard disk, or internal hard disk is a type of mass memory device that uses one or more magnetic disks for storing data, often used in PC and in the more recent models of memories very similar to those of USB keys but much larger.
Often the need arises to expand a Hard Disk or to replace the Hard Disk, this does not necessarily mean losing all the data present, which is why I prepared a guide in which, with the help of HDClone, we will avoid any kind of data loss.
There are so many systems to completely copy the contents of an HDD or SDD, that is the modern solid-state counterpart, making sure that a system recovery becomes much faster and less annoying than it used to be. A good program to do this, completely free, is HDClone. So let’s see how to replace a hard disk using HDClone.
Get the progame
First of all, you have to download the HDClone program at this address http://www.Miray.De. It is a software available in a completely free version on the site, and for this reason, it is a good candidate for an operation to be done every now and not for work.
After downloading and installing the program, you must turn off and restart the PC with the old hard disk still mounted, to prepare the PC starts a disk cleanup. This can be done by clicking on ” computer ” or ” computer resources “, selecting the main Hard Disk button and right-clicking and then left-clicking on properties from the drop-down menu.
Clean up recovery points
For reasons of backward compatibility and security, it is not possible to transfer the operating system and programs simply by moving them, or rather, it is not possible for all conventional software, apart from the executables and a few other exceptions. To proceed in the operations you must click on ” disk cleanup “, wait for the opening of the tab with the summary of the options and select the last in the list.
This option will allow you to delete all the recovery points except the last one which is precisely what we will need. This operation may take a few minutes to complete, and when it is ready, it will switch to starting HDClone which we previously downloaded.
Set operations to HDClone
From HDClone select ” create media boot ” and then insert a floppy, assuming that your disk is really small, a DVD, a CD or a USB stick of any capacity and click on the button relative to the start of the procedure. Once the boot unit has been created, close the program.
At this point, the PC is turned off and all the hard disks present must be disconnected except, of course, the one in which the operating system to be transferred to a new disk is present, and the hard disk on which to transfer.
Make the copy
Now you can boot the PC again, not before going into the BIOS and selecting the one that was created using the HDClone program as the boot drive. If all the previous operations have been carried out correctly, a rudimentary window should appear where two disks will appear and an arrow indicating the copy from one to the other. Leave the disk-to-disk copy selected and at the end click on ” next “, preparing yourself for the longest part of the whole operation.
Transfer the operating system
After a fairly long wait, related to the size of the hardware which is always a considerable bottleneck, especially when it comes to massive operations, you will see a screen appear where you can choose the source disk, here you choose the old disk and after that destination. Click on ” Next ” and then on ” Start “, so it will start transferring all the data on the disk to be copied.
Depending on the amount of material it can even take hours for this operation. Do not perform other actions and wait for the data transfer to finish. If you have a backup available for power supply, it is good to keep it attached during operations if there is a risk of blackout because you risk inconsistent states that are an annoying problem.
Complete the operations
Once the installation is complete, we need to turn off the PC and finally disconnect the old HDD. Restarting the PC you have to access the BIOS again and set the newly created disk as the boot device. Then choose ” Save and Exit “. If you did everything correctly and the operation was successful, at the opening you should find all your old programs on the desktop, perfectly functional, a sign that the operating system has migrated with all the rest of the programs without problems.