How to add RAM for your Laptop
With advancing years the programs are updated and appropriately also the machines on which they run should be updated to ensure that we can have the best in next-generation applications.
But if we are loyal to a personal computer in a particular way or simply do not want to change it, we can add pieces next generation hardware that is more powerful to look great. This guide will talk about how to change or add RAM to a laptop computer.
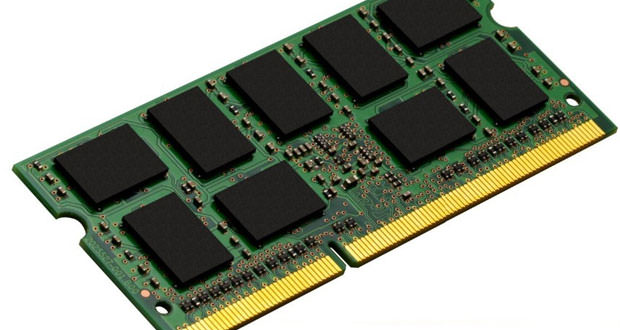
1.) First, we have to locate the door of the RAM under which they are attached. Usually, the cover in question is located under the base of the PC is fitted into and locked with two screws to prevent accidental opening this can cause some damage to the electronics behind it present. Once localized, we must proceed with its opening by unscrewing of the screws and lifting the cover. Once raised, and once we found ourselves in front of the RAM, we must proceed with the take note of what kind it is. It can be DDR, DDR1 or DDR2 in function that built both our PC.
2.) Once you have identified the year of our PC, and once acquired the right components we can proceed with the change of these. To remove the old RAM we should do is raise slightly from the basic components of the motherboard and once unlocked from their connectors to extract them from the pins by which they were established. Once we removed both cards RAM we can proceed with the next step, which is to change the old RAM with new RAM.
3.) Before switching off the new RAM, we must make sure to be an electrostatic discharge to avoid burning the new components. To drop us electricity, we touch iron objects. Once this has completed we can proceed with the next step that, we must remove the old RAM with a slight lift and then pull them off. To put the new RAM must proceed in the opposite direction, that we have to push them up against the pin and then with a slight downward pressure them to join the board by ensuring that they close for good all contacts. Once all these steps we can close the cover of the RAM and try starting the PC enjoying our new components.