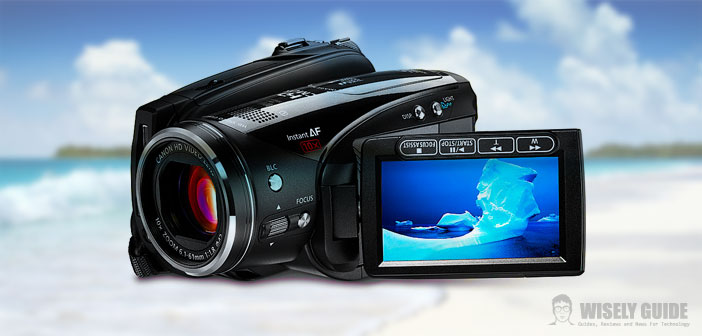
Mac are known for their versatility in the multimedia field, simple, effective, allow you to create professional-looking little masterpieces. It obvious that in addition to the Mac need the right tools in our case a digital camera that is equipped with a USB output.
There cannot be a definitive guide as there are many variations on the theme, thousands of digital cameras with the most diverse link technologies. We will examine the most common situation, or a digital video camera with usb output and a Mac with Snow Leopard or higher.
1.) First, we need to make a movie: there is little to recommend here if you do not give free rein to creativity, it is advisable to avoid ” zoom ” and fast movements. You have to proceed as smoothly as possible. Let any ghostly special effects and makeup to post production. The last precaution is to make sure you have a connection to the power supply for the camera (import may be very long, and the battery may abandon).
2.) Once you have recorded the video, and the camera connected to the electric current is sufficient to obtain the USB cable for PC Connection: usually is a cable with socket-type ” mini B – A ” or ” micro B – A ” and, more generally, comes supplied with the camera. Then connect the cable to the connector of the camcorder to your Mac and then into a USB port free. Place the camera in play mode (see the camera manual in the section on connecting to your PC / Mac because there is no standard sequence for the operation). Some cameras may be used as a storage medium SD cards you type in this case is sufficient to remove the SD card from the camera and insert it into a card reader connected to your Mac. The movie will be accessible like any other media available on the Mac.
3.) Start now the acquisition phase itself: be sure to install iMovie on your Mac and make sure it is updated. The upgrade will allow for maximum compatibility with camcorders on the market. Launch iMovie from the file menu and select import from a camera: start a process that will transpose the video from your camcorder to your Mac then select import parameters, above all, the most important, the quality of the movie (you can always choose the automatic mode and leave all decisions to the program). Commands will appear to move and accurately select the clips you want to import. Once you set your choices just press Save to indicate where to store the movie on our mac and in the ” Create new Event ” field, enter a name that will allow us to easily identify the footage imported. Then start the process by clicking Import and wait for the completion of the process. When importing is completed, you can disconnect the camera and work on files imported ..
Note :
- Check the correct selection of commands and settings for connecting to the Mac (see the manual of the camera).
- Make sure you have enough space available for import.

