How to install a hard disk
Today, with the development, and marketing of computer equipment of all kinds, Hard Disk ( Hard Drive ) is increasingly being used. Whether they are integrated into our portable or inside our home computers, their addition or replacement became virtually inevitable. In the information society all, we create a very high amount of data daily.
Photos, movies, text documents, sound files, our lives good or bad always rotates more about electronic file that when you lose, maybe break for physical media or loss account on web platforms, could make to disappear in an instant memories, document or anything else. This guide will look at how to install a hard disk generic within our computer.
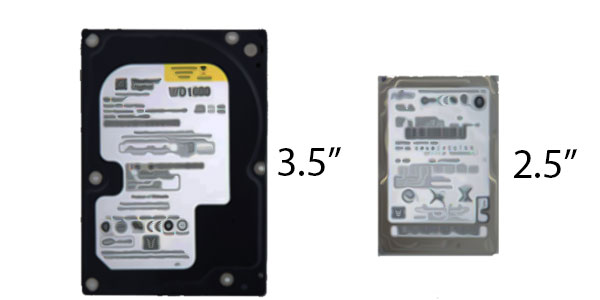
1.) First and well make some distinctions. Basically the types of internal hard disk for our home computer with shell (Case) Tower. Their names are the underlying technology used are IDE and Serial ATA (SATA). The early start almost to disappear from the market, and relate to the older generation of discs. Motherboards that support them are also dated. Their characteristic is to be slower than SATA. Take care before buying a hard drive, the type supported by the Mother Board.
2.) SATA drives are part instead of the last generation. They are very fast and extremely high in performance and support a greater amount of data storage than the older IDE. If you are not aware of which type of hard disk supports your computer, it is a good practice to give a reading in the manual of the motherboard.
3.) In view of their use still massive, in this guide we will explain how to add a new hard disk class IDE. First of all, before you open your computer, look at the back of the disc. You’ll notice a large number of rectangular feet, standing next to a square format from 8 contacts. Above two of them, it is positioned what in technical jargon is called jumper. The jumper serves to make it clear to the hard disk will have to work in that mode. If you are inexperienced, looking at the pattern drawn on the disc, place the jumper so that it appears in ” Cable Select ”
4.) Now open your computer (Off and unplugged !!) if necessary with the screwdriver by loosening the screws of the side plate which gives access to the motherboard and components. If you already have a disc inside, and want to add another one, you will be eased in the subsequent operation. Look for a flat cable gray, which is connected on one side to the disc and the other to the motherboard.
This cable (IDE cable) supports the presence of two discs. You will find a part of this cable free and ready to accommodate the new one. Be careful to insert the cable in the proper manner to the new disk, as a misplaced bend contacts and cause damage. The cable comes in only one way. Double check. Now look also the power cord (there should be free) and also connected to.
Once this stage, enter into the houses where you find space. Normally, such space is below the first. Now close everything and turn on the computer. Depending on the operating system you use, you may need to perform the initialization procedure.