How to take a screenshot in Windows
Before you figure out how to take a screenshot in Windows, you must understand what you are talking about. The term comes from English and means ” to capture the screen. ”
It is used to capture moments of error or screens on your PC. In summary, it is a photograph taken of our desktop. We can use it to several purposes: to create tutorials, freeze the picture of a favorite video that we liked and many other things. The process is very simple and fast, in just a few seconds we will have our instant, and we will do what we want. We see the following as you progress.
1.) Whether you are provided with a desktop or notebook computer how to perform the operations is always the same, only the name of the key that we need to ” capture ” the image. The first step to make a screenshot in Windows, depending on what we want to take, highlight the desktop or any dialog boxes or error messages. Press the Print Screen key (desktop computer) or Print Screen (laptop) which are on the keyboard on the upper left, above the number keys.
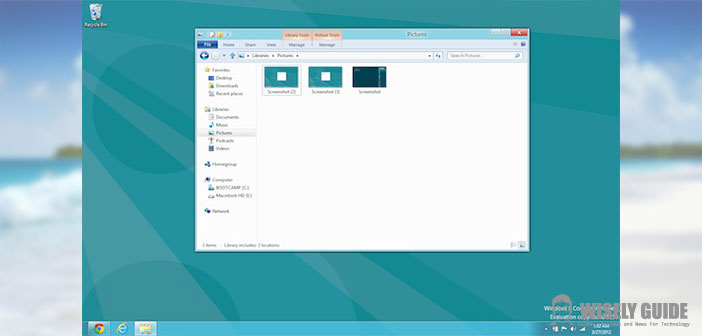
If we wish to take only a specific window, Select it with the mouse and use the keyboard shortcut ALT + PRINT SCREEN to lock just the one part and leave out the rest. Now we copied our still image. We will not have any confirmation, why? You know the ” copy ” and ” paste ” ? It works the same way: the data used are placed in a hidden memory of the operating system (clipboard) and not your hard drive. To see the image, you must paste it, but we’ll get to in a moment. With the advent of Windows 8, the situation changes: here the data is saved in a folder called ” Screen Captures ” located in My Pictures.
2.) Now comes the fun part, finally we will see our screenshots! How? First, we need a photo-editing program. Windows has one completely free including: Paint. Otherwise, you can use the software with more tools like Gimp (free) and Photoshop (surcharge). Once you start the program, click on the Edit menu and choose Paste item, or simply use the keyboard shortcut CTRL + V. And here’s the image that will appear on the canvas that we have ” captured “. From here the choice is clear: we can use the screenshot to edit, resize, or apply various effects.
3.) Finally, what are we to make of this study? We save it so you can use it as we wish! File – Save As is a standard procedure. We choose the destination folder and image size. I recommend saving as a .png, if we need to carry on the web, this is because with this type of extension of the background, if absent, remains transparent. A click on the item and the Save Our job is finished!