How to virtualize operating systems on Mac
This guide will be given advice on how to virtualize different operating systems on your Mac. With this mode you can take advantage of the operating systems without having to delete or move your files used daily.
A positive feature is the possibility to work easily without the risk of being attacked by viruses or crash. Take a pen and paper and mark all the steps that will allow you to perform this work.
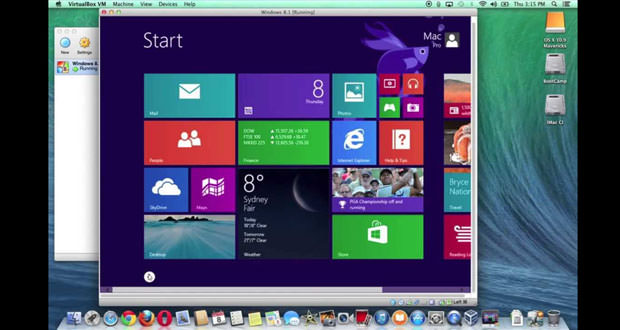
1.) First, you have to get the right program that is right for you. You can try VirtualBox, a multi platform running on both Windows and Mac. With virtualization, it can be done easily without having to burden the computer’s memory. The only factors that determine the speed and performance of VirtualBox are the RAM, but also the power of the PC. The first step to be done is to download the software and then proceed with the installation. Subsequently, in order to open the operating system, you have to go on the ” New ” and then on ” Next ” button. In this step, you should choose the system to virtualize, also including the version and the name you are going to create. Click ” Next ” to give confirmation.
2.) Following will be the amount of RAM required to be placed on what you are creating with the relative size of the hard disk. You will only have to leave all the default values by the software without changing anything. So, continuing on the button ” Next “, set a record with dynamic allocation. VirtualBox is need to choose the optimal values that will be used to perform the creation of the virtual panel. At this point, you just have to click on ” Create ” in order to access this wonderful service totally free and risk-free.
3.) Once you’ve got the virtual machine in which to run the operating system that you want to try, have to worry about the installation of the latter that must be carried out as if you were using a real PC. In order to do this it is necessary to include in the system installation disk. There are two options open to you: the first choice would be to arrange the physical disk. The second option instead relates to the use of an ISO image file type saved on your hard drive of the computer itself.