How to create an application for iOS
iOS is the operating system for mobile devices from Apple and is supported by iPhone, iPad and iPod Touch. To date, the latest version of iOS is 8.3 which is compatible with iPhone (up to 4S), iPad (second, third and fourth generation), iPod Touch (fourth and fifth generation) and iPad Mini.
In this article, we will see how to create an application for iOS and run it on the emulator on your Mac.
To test your application on a device, or submit it to the Apple Store and publish it on the market, must be licensed by developers. For more information on this, please visit the appropriate section of the Apple website (you reach it by click on the link).
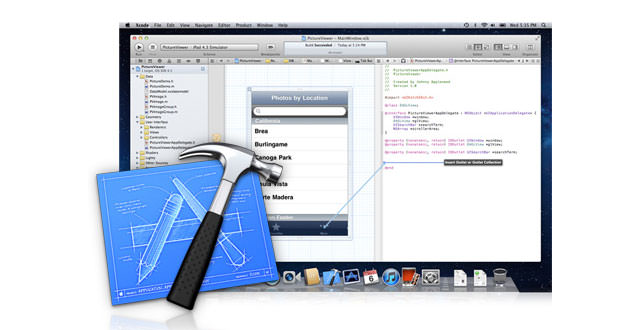
1.) To start creating your own personal app for iOS, you go to the applications menu of your Mac and open Xcode (the latest version is 6.3) that represents your development environment. Select File -> New -> Project. From the menu that is loaded, select ” iOS Application ” located on the right bar and, from the central menu, choose the ” Single View Application ” and click ” Next “. Name the project and, as a device, choose ” Universal ” (for both iPhone and iPad); not selected storyboard (this tool is used to build applications with multiple screens). At this point, to complete the creation of your first project for iOS, you must not only confirm what has been done so far by clicking on ” Next ” . In the next step we will try to print an inscription on the iPhone screen.
2.) Now let’s see how to print an inscription on the iPhone screen. After realizing the project on Mac, select the file ” ViewController_iPhone. Xib ” and you will see the screen shown in the figure appears. This screen is not more than the iPhone display as will be loaded once run the application. Filling this file, you can create the graphical interface that will be displayed on the display. On the right of the screen, there are elements that will allow you to fill your screen (for example: labels, buttons, tables, etc.). From the menu that is located in this section of the right, select a label and drag it to the display. Double-clicking on the label, rename it with the string you want (for example, ” Hello World! ” ). With this last step, your first program is finished, without writing any line of code. Now we have to run it, to see the result.
3.) To launch your app, select the ” Run ” located at the top right, or click on ” Product ” -> ” Run ” from the menu located at the top. Then, choose Which device to run your application (let’s say you decide to make it work on the iPhone) and, after confirming the whole, you will see that the iPhone emulator will start and display the message ” Hello World! “.