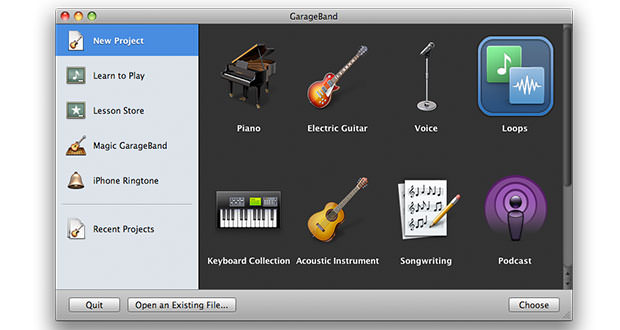
GarageBand is an audio editing software base suitable for professionals and beginners widely used by recordists to perform compression, ie the process necessary to increase the volume and intensity of the music.
In this guide, we will see how to increase the volume of voice recordings, remove the hiss and even out the dynamics of a recording with Garageband with a really minimal distortion and optimum results.
1.) We prepare the microphone: first of all, we have to get the instrumentation hardware. That is a good microphone. In the Mac is also a built-in microphone, but for best results we need the pre-amplified. The quality of the microphone also affect much on the volume of the recording because, for example, a normal microphone from about $15, may be suitable for messaging programs like Skype and Live Messenger, does not cater to the professional recording and the volume will be increased only up to a certain point. My advice is to arrange a USB microphone and select it from the menu ” preferences ” of GarageBand.
2.) Methods of recording the voice once we connected our microphone, we can intervene on the volume of the recording in two ways: by increasing the volume of the recording (the microphone increases its sensitivity and records already at medium volume high) or by recording a volume almost normal, but after raising the volume, but risking almost always distorted voice very unpleasant to hear. The dispassionate advice is to definitely use the first method: double-click on the track where you record your voice will appear on the right column with all the features and effects that you will want to give. Exactly at the bottom, in that same column, find the recording volume. Take it to about 80%, then press the button act to record and make sure you do not sing / speak too close to the microphone, because of its already record high volume.
3.) Recent changes: once you have recorded the track, it is logically possible to add some effects to further increase the volume or quality. Clicking again on the voice track, will open as said before, the right-hand column. At this point, between the effects, select ” Voice ” and then the desired one. Generally, the effects that serve to increase the sound without distorting it completely are ” Speaker ” and ” Live “.
Once you have registered and changed the audio, you can freely edit the volume where you want them: in the left column, the one with the names of all audio tracks, select the one you want and click on the small white arrow pointing downwards. Then you will see the line of the volume that will cover the entire track. With the mouse, you can decide where to keep up the volume or, conversely, where lower it at your leisure. If at the end of the entire procedure hear a background noise, it means that you have not used high-quality components. In this case it is preferable to use a power conditioner that helps to clean the electrical current from the background noise, so as to improve the signal.

